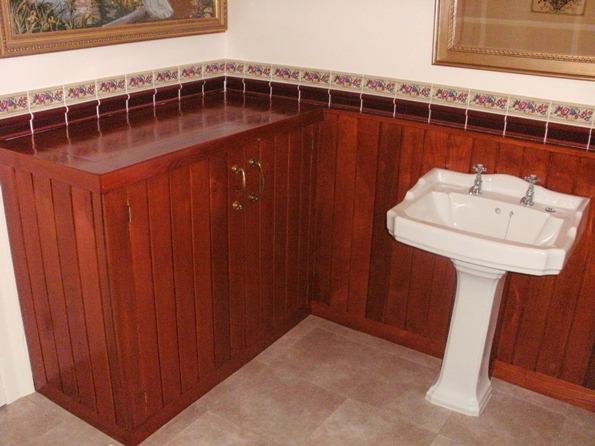
Here is an example of how to strip varnish from joinery and stain the timber to a darker colour using oil based woodstain. In this example our customer had a handmade ash bathroom unit and panelling around the room in her Victorian property in Brentwood, Essex which required stripping and refinishing. When it had been fitted it received a few coats of clear varnish but over time the varnish had yellowed and now looked dull and tired.
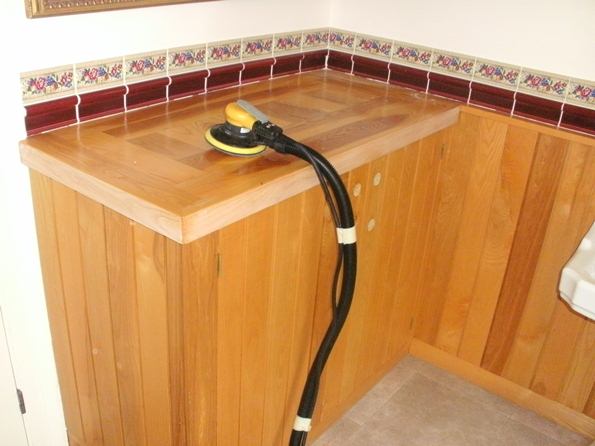
First you must begin by stripping the old varnish, the stain that you are going to apply needs to be able to sink into the timber and will just slide over the existing varnish if it’s not properly stripped off. There are several ways to remove the old coatings; heat, sanding and chemicals. In this case the varnish was sanded off using a Mirka Ceros. Sanding is the safest and most eco-friendly way to remove old paint film, but it’s also the most tiring way! The dust created from the sander was sucked up by a Festool extraction unit and safely disposed of. To achieve a high quality finish you must completely remove every trace of old paint or varnish including all the corners, grooves and niches. We wrapped sandpaper around a screwdriver to get into the grooves at this property in Essex.
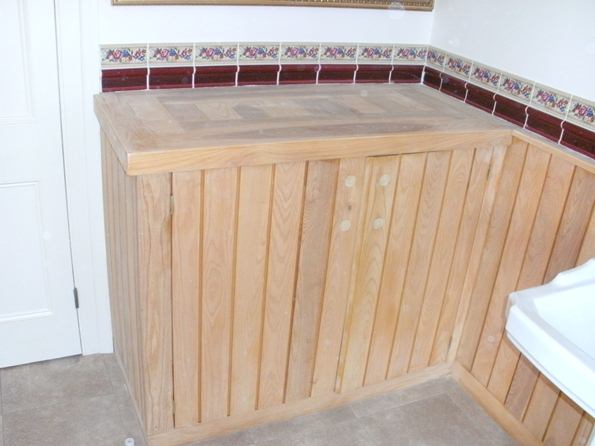
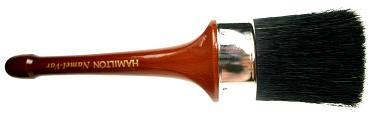
Once you have removed the old coating you are ready to apply the stain but first you must remove any sanding residue from the surfaces. Ideally this should be vacuumed off and then the surface wiped down with a tack cloth. You can get into the corners and grooves by wrapping a tack cloth round a screwdriver or chisel. Use masking tape if you need to (i.e. where whatever you are painting meets the floor.) You should use a good quality natural bristle brush, don’t skimp on the brush, its important! For staining and varnishing work we like to use Hamilton Perfection Namel-Var brushes. In this case the customer wanted the joinery stained to a rich mahogany colour so that it would be more of a match to the tile trim that sat on top of the cupboard unit and panelling.
Pour some of your chosen stain product into a clean paint kettle. Dip the brush into the stain and tap it on the side of the kettle making sure not to overload the brush. Start by ‘cutting in’ edges, grooves and corners before staining the broader surfaces. Spread the stain thinly laying it off in the direction of the grain and keep checking back for runs and sags. Make sure the brush leaves the surface before changing direction when laying off the stain and always work to a ‘wet edge’.

To get the desired colour you can apply more or less coats as required but two coats should really be the absolute minimum, be sure the previous coat has fully dried and very carefully rub down with fine grade sandpaper (320 or higher), this will denib any raised wood fibres. Again this should be vacuumed and wiped down with a tack cloth before applying another coat of woodstain.
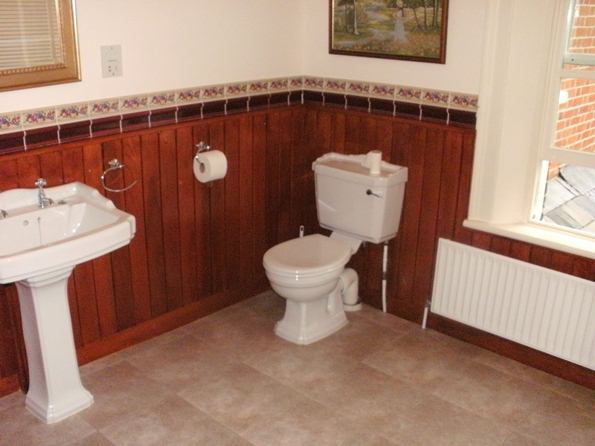
When you have finished you can seal your staining work with a few coats of clear polyurethane varnish which will provide a durable film and gives you the option to add a gloss, satin or matt finish.
If you are looking for advice on stripping varnish, paint stripping or staining and refinishing joinery then we hope this article was of help. Or if you would like us to do it for you then fill in THIS form, we will be in contact as soon as possible to discuss your requirements.