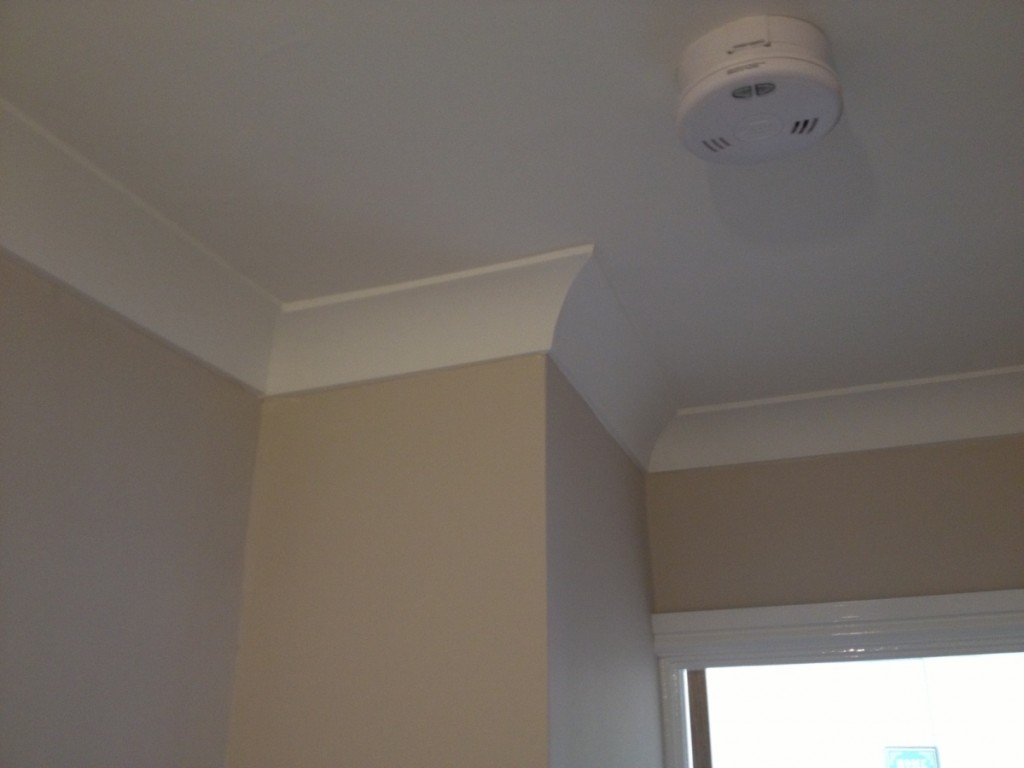
This is a guide to coving installation from professional decorators in London and Essex. This particular project was in Brentwood, Essex and we were contracted to complete the property refurbishment after builders had erected a large extension to the rear elevation.
Fitting standard 127mm coving is a fairly straightforward task and if you follow these steps you should have no problem installing plaster cove at home. To install an egg and dart, fluted or any other ornamental plaster cornice is a much more complicated job and should be left to an experienced craftsman.

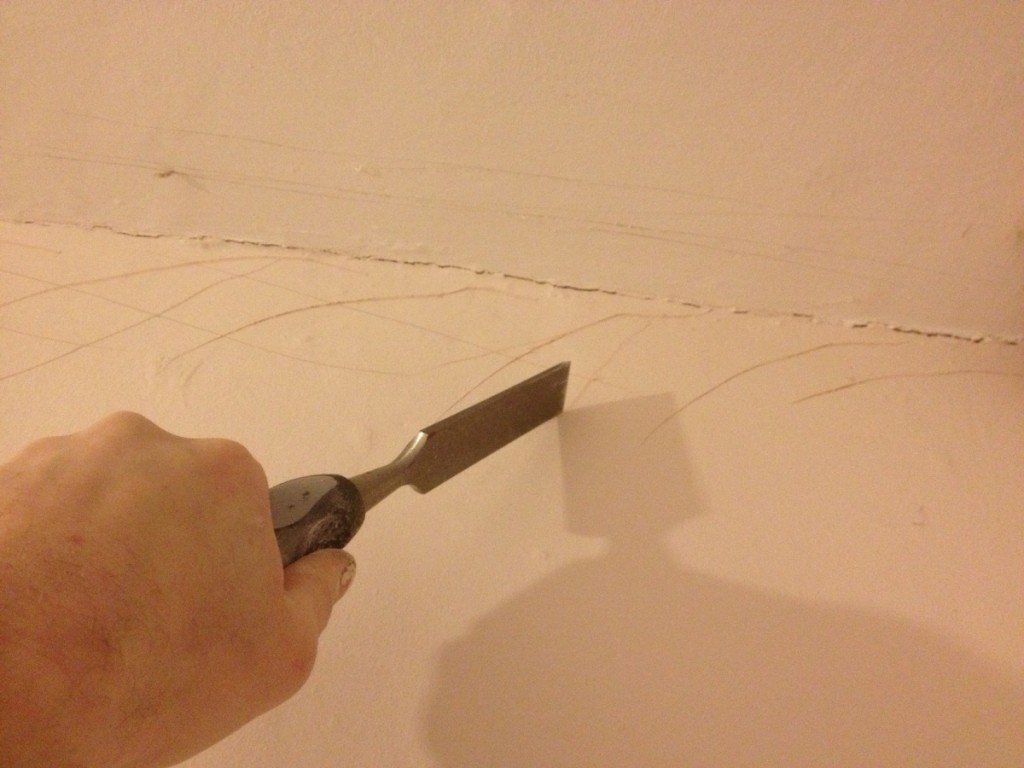
First you should score all around the corners of the room using a sharp scraper or chisel where the coving is going to be installed; this will help the coving adhesive ‘grab’ as it is setting. Porous surfaces such as new plaster should be ‘mist coated’ using a thin coat of emulsion or sealed using a couple of thin coats of PVA.
First you need to measure the length of the coving that you require and assess whether you need internal mitres at each end, internal/external or two external angles (i.e. on a chimney breast). Always measure the wall rather than the ceiling, it is easier and far more accurate and remember that it is always better to cut your length of coving slightly too big rather than too small. There are some simple marking tools available that take the guesswork out of cutting somewhat and should allow you to mark and cut a near perfect mitre, if you have to use more than one length of coving on a long wall then the joins should be mitred with two angled cuts rather than ‘butt joining’ two straight ends.
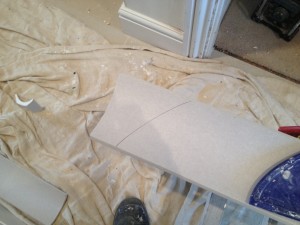
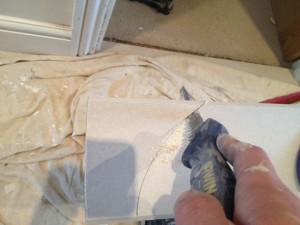
Once you have cut your first length hold it up to the ceiling to make sure it fits, you can shape the cut ends of the coving using a block plane or dry lining tool, very few angles on buildings are exactly 90º so even if you cut a perfect mitre you will still have a make some adjustments using the plane.
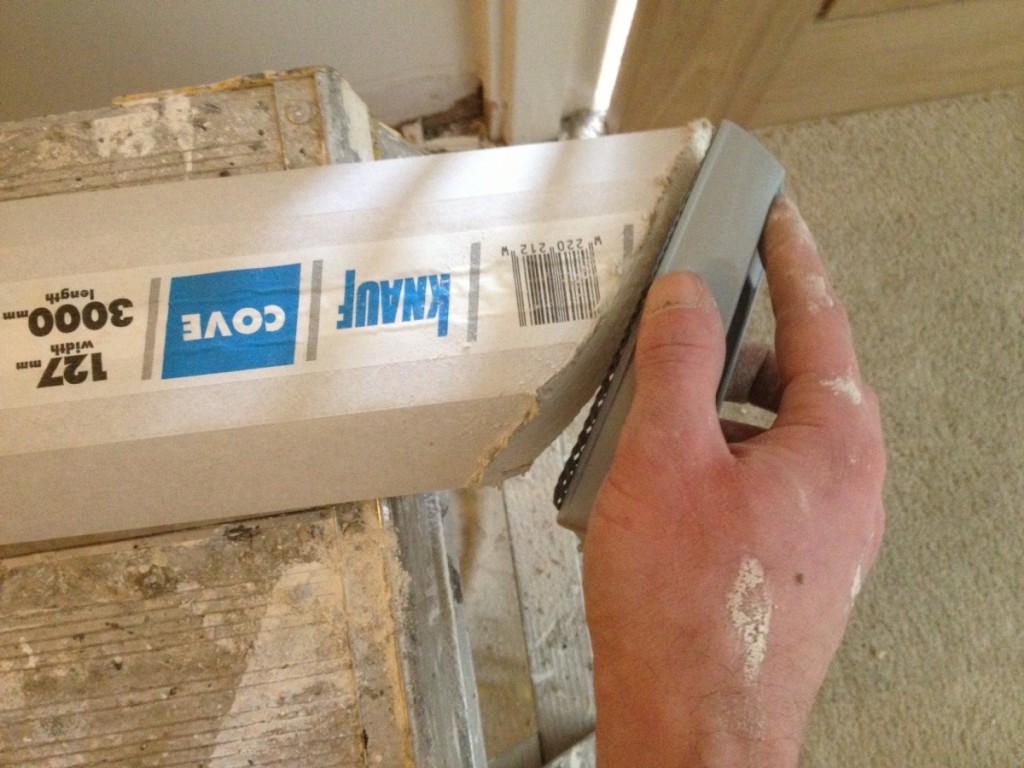
When you are confident that your coving will fit as intended then you can start loading on the adhesive. As with most materials in building, ready mixed coving adhesive is not quite as good as the stuff that you mix yourself. If you mix your own you can achieve a consistency that suits you and you will also find that the adhesive sets far more quickly. Take a filling knife and apply the adhesive generously to the flat edges on the back of the coving.
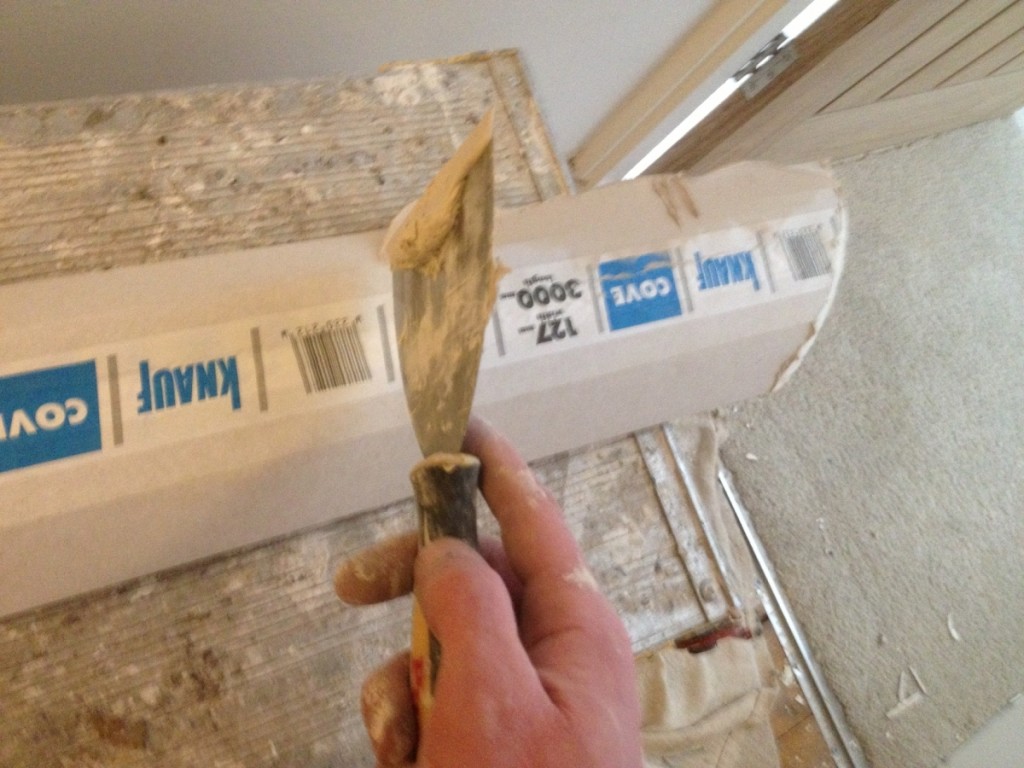
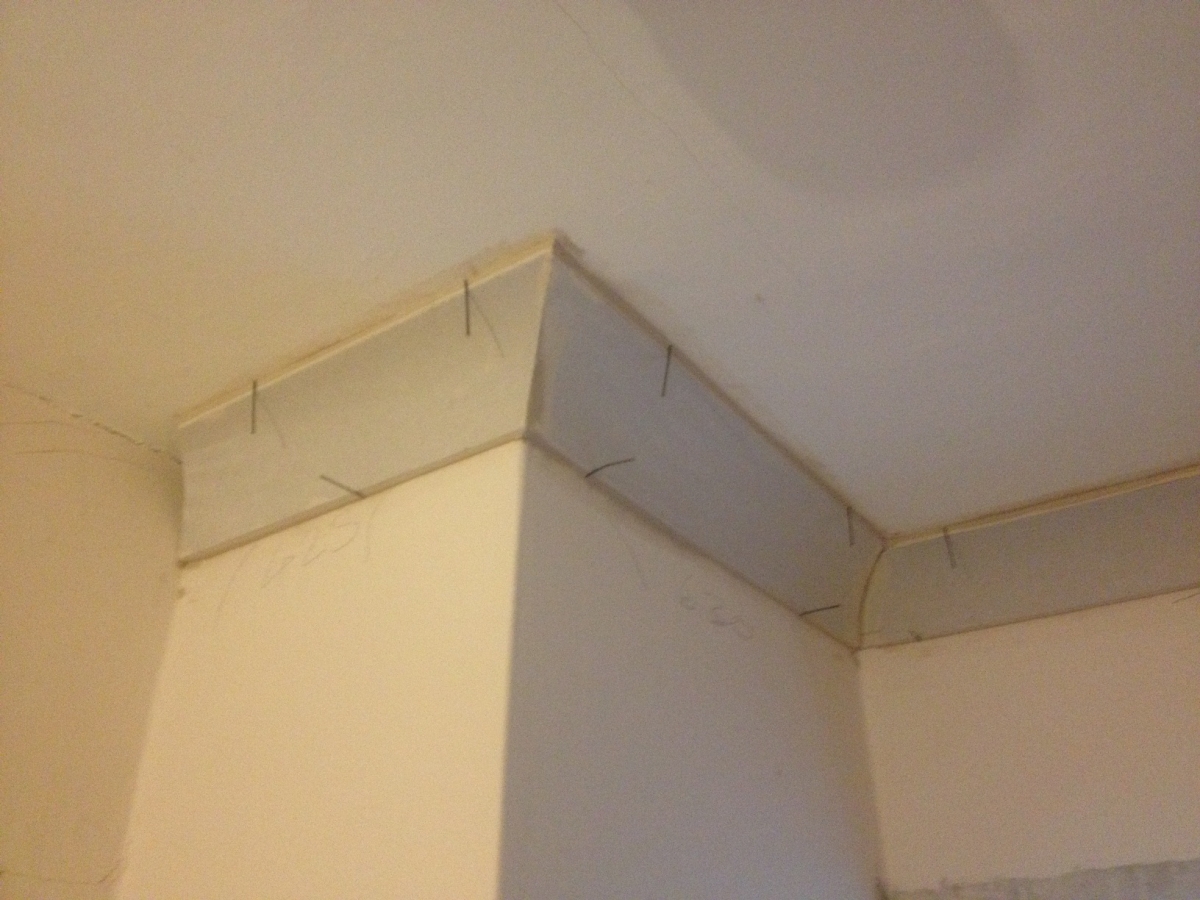
You can now lift the coving up to the ceiling edge and slide it into the correct position. The adhesive also acts as filler so don’t worry if there are a few gaps where the walls or ceiling run out as you can simply take some of the excess filler and knife it into the gaps. Take off the excess adhesive and shape it properly around the edges of the coving. You can use some nails or panel pins to hold the coving in place while the adhesive is setting.
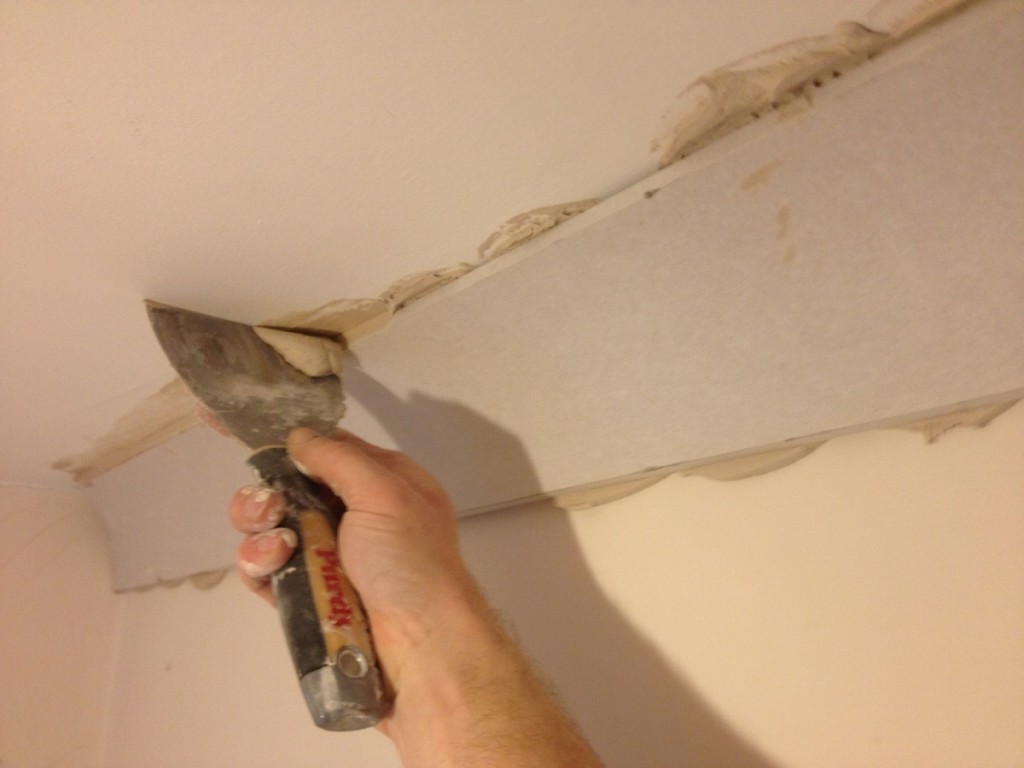
Continue around the room until you eventually make it back to the beginning. When the adhesive has set overnight you can remove the supporting nails and make good any imperfections using decorators caulk or filler. To see a step by step guide to decorating a room after you have installed your coving please read our blog post; How to Paint a Room.
If you need more painting and decorating advice or have a project in London or Essex that you would like us to take a look at then simply fill out THIS form, we would be happy to help.